How to Photograph from Planes: 2026 Window Seat Guide
Learn how to photograph from planes with expert tips on camera settings, avoiding window glare, and the best aerial photography gear for travelers in 2026.
As an Amazon Associate, Plan0gram earns from qualifying purchases made through links on this page.
⸻
Last Updated: September 21, 2026
Pre-Flight Prep: What You’ll Need Before You Board
Window-seat photography starts long before the boarding door closes. This Plan0gram guide covers how to photograph from planes, whether you’re on a quick hop from DEN to SLC or a long haul across the Pacific.
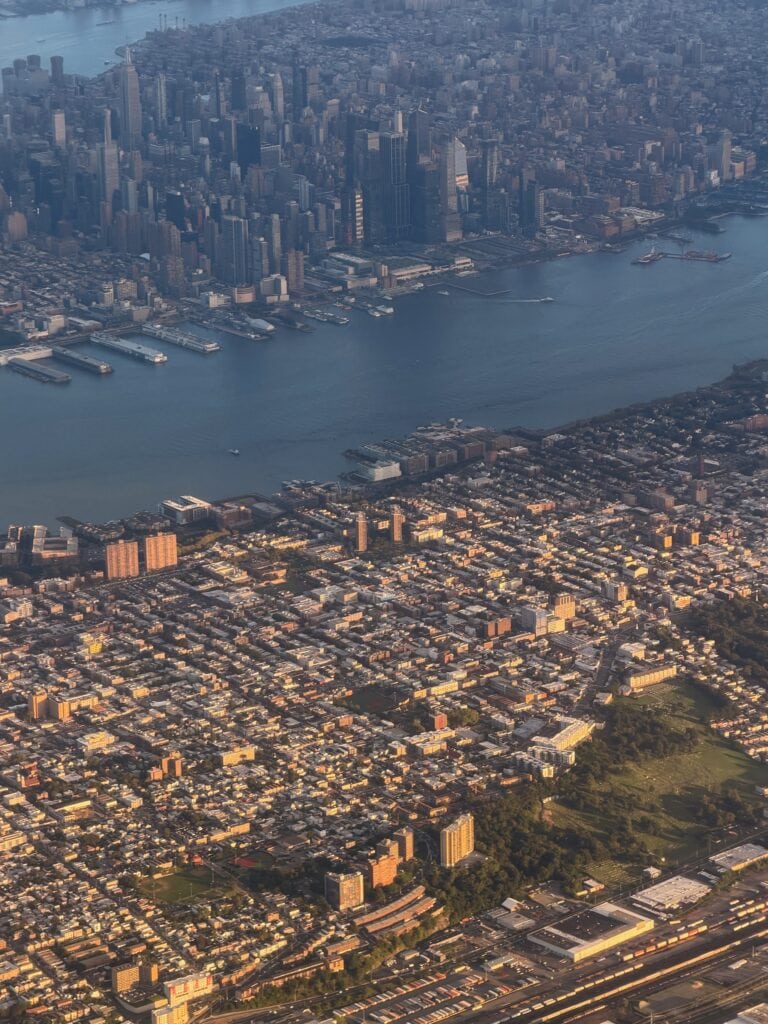
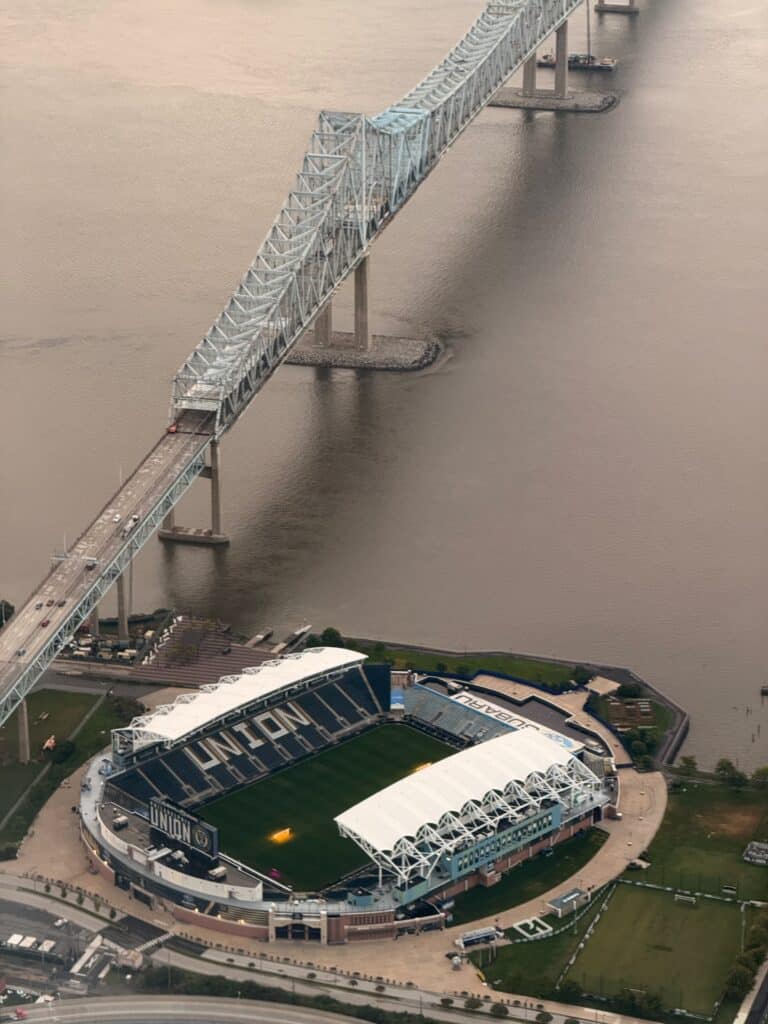
It quickly goes from a simple photo of clouds, to trying to pick out your favorite sporting venue. You start to notice how cities sprawl around the bend in the river and you try to figure out why. I would say the peak of my viewing was when we flew to Dubai, and as we approached the airport, we could clearly see the man-made islands designed to look like a palm tree. Contrast that to every time I fly over the Grand Canyon, I get to see a new angle or different light.
What to pack in your personal item:
- Microfiber cloth, two of them (one for the window, one for the lens)
- Lens pen or blower
- Camera with a zoom lens, or your phone
- Spare battery, kept in your pocket to stay warm
- Small roll of gaffer tape for the window shade
- A dark, non-reflective jacket or scarf to drape over the lens
What I’d actually pack for the lens-cleaning kit: a proper lens pen and a microfiber pouch beats loose cloths rattling around your bag. Check price on Amazon
Choosing Your Seat: The Mechanics That Matter
A window seat is table stakes. Which window seat is the difference between a clean shot and a wasted leg.
:::tip
On a long haul, book the window seat on the side opposite the sun for the first half of the flight. You’ll get softer, more even light on the ground detail instead of blown-out highlights.
:::
Window Condition: What You Can’t Control
Not all windows are equal. The inner pane on a well-used narrowbody can be scratched, hazy, or filmed with cabin grime no cloth fully removes, and some windows have a built-in shade or dimming layer that adds a color cast.
What to do:
- Wipe the inner pane with a dry microfiber cloth before pushback, dirt invisible on the ground shows up at altitude.
- If the window is badly scratched, ask a flight attendant about an empty window seat elsewhere; on a half-full flight they’ll usually accommodate you.
- Avoid windows directly over the wing for clean ground shots, the wing blocks much of the frame at cruise.
The Pre-Flight Setup Checklist
Before the boarding door closes, configure your camera so you’re not menu-diving during rotation:
- Shutter priority or manual, 1/1000s as a starting point
- RAW format if available
- Burst mode and continuous autofocus (depending on how much storage you have)
- Image stabilization on (mode 1 wide, mode 2 panning)
- Exposure compensation at -0.3 to -0.7 to protect highlights
- Lens hood attached, ready to press against the glass
Best Camera Settings for Aerial Photography at 35,000 Feet
The best camera settings for aerial photography start with shutter speed, not ISO. Set shutter first, then aperture, then let ISO float, that order keeps you sharp.
Shutter Speed, ISO, and Aperture: The Exposure Triangle in the Air
At altitude, light is bright and contrast brutal: clouds blow out, ground detail falls into shadow. A good cruising baseline:
- Shutter: 1/1000s for sharp ground detail
- Aperture: f/5.6 to f/8 for depth of field
- ISO: 200 to 400 in daylight
- Exposure compensation: -0.3 to -0.7 to protect highlights
Prop Blur vs. Freeze Frame: Dialing In Your Shutter
Want a spinning prop? Drop to 1/125s and pan with the aircraft. Want a frozen blade? Go to 1/1000s or faster.
How to Avoid Window Glare in Airplane Photos
The number one reason airplane photos look bad is glare, not gear. Killing reflections is a positioning problem before it’s a filter problem.
Quick fixes, in order of impact:
- Press the lens hood flat against the glass
- Turn off your reading light and seat-back screen
- Wear dark clothing
- Cup your hand around the lens
- Glare is going to happen, try to get it out of the frame at least.
Polarizing Filters and Lens Hoods: Your Glare-Fighting Toolkit
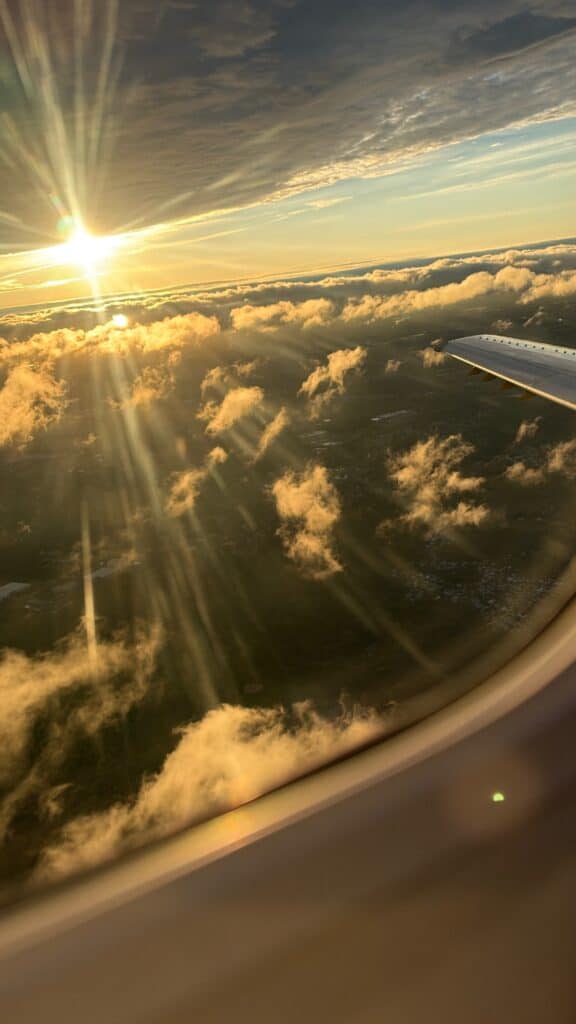
A polarizing filter cuts haze and deepens blue sky but steals light, on a dim cabin that can cost a stop you don’t have. A rubber lens hood pressed to the glass does more than most filters, blocking cabin light from bouncing off the inner pane and creating a seal.
A circular polarizer is still worth having in the bag for the flights where light is plentiful: Check price on Amazon. For the glass-seal trick specifically, a soft rubber lens hood is the cheap fix that does more than the filter: Check price on Amazon.
:::warning
Double-pane acrylic windows on modern airliners scratch easily. Never drag a metal lens hood across the surface. Use a rubber hood or a microfiber cloth as a buffer.
:::
Aerial Photography Gear for Travelers: What Fits in Your Carry-On
Aerial photography gear for travelers should fit under the seat, not in the overhead. Hauling a full-frame body and three lenses, you’re already losing.
What works, and what I’d actually buy in each category:
| Gear Type | Why It Works | Trade-off | Buy |
| Compact superzoom | Wide to tele in one lens | Softer at full zoom | Check price on Amazon |
| Mirrorless body + 24-105mm | Light, sharp, fast AF | Limited reach | Check price on Amazon |
| Telephoto zoom (70-200mm) | Compresses ground detail | Heavy, bulky | Check price on Amazon |
| Smartphone clip-on tele lens | Always with you | Small sensor, noisy in low light | Check price on Amazon |
| Point-and-shoot with RAW | Pocketable, good zoom | Slower autofocus | Check price on Amazon |
The first ten minutes after takeoff and the last ten before landing give you the most usable frames. Everything in between is bonus.
:::
Stabilization Secrets: Beating Cabin Vibration and Engine Shake
Cabin vibration is constant and softens shots; image stabilization helps but can’t fix everything. Turn on vibration reduction, mode 2 for panning on a long lens, mode 1 on a wide. Brace your elbows on the armrest or window frame, breathe out, then squeeze the shutter. For long exposures, forget it: engine shake wins, so bump ISO and keep the shutter fast.
Safety, Rules, and Respect: Photographing from Small Aircraft and Helicopters
Small fixed-wing and rotary-wing flying is a different game, closer to the action, with stricter rules. Here’s how it breaks down for both commercial and charter.
Commercial Airline Photography: What You Can and Can’t Do
On a commercial flight you’re a passenger, not crew. The rules are simpler but not nonexistent.
What’s allowed:
- Photographing through your window with a camera or phone
- Using a lens hood pressed against the glass
- Shooting during takeoff, cruise, and landing
- Using a tripod or monopod is generally not permitted in the cabin, but a small clamp or suction mount on the window is sometimes tolerated, ask the flight attendant first
What’s not allowed:
- Photographing crew members or other passengers without consent
- Using a flash (it distracts the crew and can be a safety issue in low light)
- Blocking the aisle or emergency exit row with your gear
- Photographing security-sensitive areas during taxi, some airports restrict photography of military or government facilities on the ground
Small Aircraft and Helicopters: The Pilot Is Your Gatekeeper
Before you shoot, ask the pilot. Most are happy to help and some will bank for a better angle; others won’t, and that’s their call. In a helicopter the pilot may need to adjust the flight path, ask before you assume.
Restricted Airspace and Sensitive Facilities
In both commercial and small aircraft, some places are off-limits: military bases, nuclear facilities, certain government installations. In a small aircraft the pilot knows local restrictions; on a commercial flight you’re usually too high to matter, but during approach and departure keep your camera on the scenery, not the security infrastructure.
:::warning
In a helicopter, never point a lens at the tail rotor or the pilot’s controls. It’s a distraction and a safety risk. Keep your shots forward and to the side.
:::
Respect the Crew and Your Seatmates
On a commercial flight, your photography shouldn’t interfere with anyone else. Keep your camera in your seat area, don’t lean over your seatmate, dim bright review screens, and if a flight attendant asks you to put the camera away during a critical phase of flight, do it without argument.
Post-Flight: Protecting and Cleaning Your Gear After Landing
Cold, dry cabin air, pressure changes, and constant handling all leave a mark on your gear.
Do this after every flight:
- Wipe the lens and body with a dry microfiber cloth
- Check the front element for fingerprints before you cap it
- Let the camera reach room temperature before you open the card door
- Store silica packets in your bag to fight moisture
Keeping silica gel packs in the bag is the cheapest insurance against cabin humidity: Check price on Amazon
⸻
Flying with a camera is one of the best ways to see the world from a different angle. But it takes the right seat, the right settings, and a little patience with glare and vibration. At Plan0gram, we’ve spent decades chasing that view, and we’ve built a library of airport guides, gear reviews, and fine art prints, canvas, and metal prints to help fellow window-seat travelers get more out of every flight. Explore my work and see what 34 years of flying looks like from 35,000 feet.